Cajons “Made in” vs “Assembled in”

Is it really “Made in”?

I am beginning to wonder about a few manufacturers,  a very few, who advertise their cajons as ‘Made in’.  There are three or four makers in the developing world with very precise cajons, with many models and many complex, high quality tapa graphics options – a collection of qualities that seems improbable for a local cajon maker who has been in business for 4 or 5 years.

When I first started building the Cajons of the World website I chatted with one producer who admitted that he was partnered with a very large cajon manufacturer in Asia. I am currently in South America and recently found that multiple queries to visit a local cajon factory were ignored, no response at all.

I had a similar ‘no response’ to questions posed to one ‘manufacturer’ in the USA. Some of their adverts list their cajons as ‘Made in the USA’ some list them as ‘Assembled in the USA’. Their model has a stunning similarity to a model of cajon made in Thailand.

It’s impossible to actually know what is going on with possible ‘Made in’ scammers. They may simply use imported templates, jigs and methods with local wood and build cajons using local labor.  And that’s OK. Or they may import pre-cut plywood pieces, pre-made tapas and assemble the cajons with local labor. It’s also possible the completed cajon box is shipped in, the pre-build tapa is shipped in and the only part of ‘Made in ‘ that takes place is the tapa is screwed on.  It’s also possible the entire cajon is made and shipped from another country and the ‘Made in’ label is a complete fabrication.

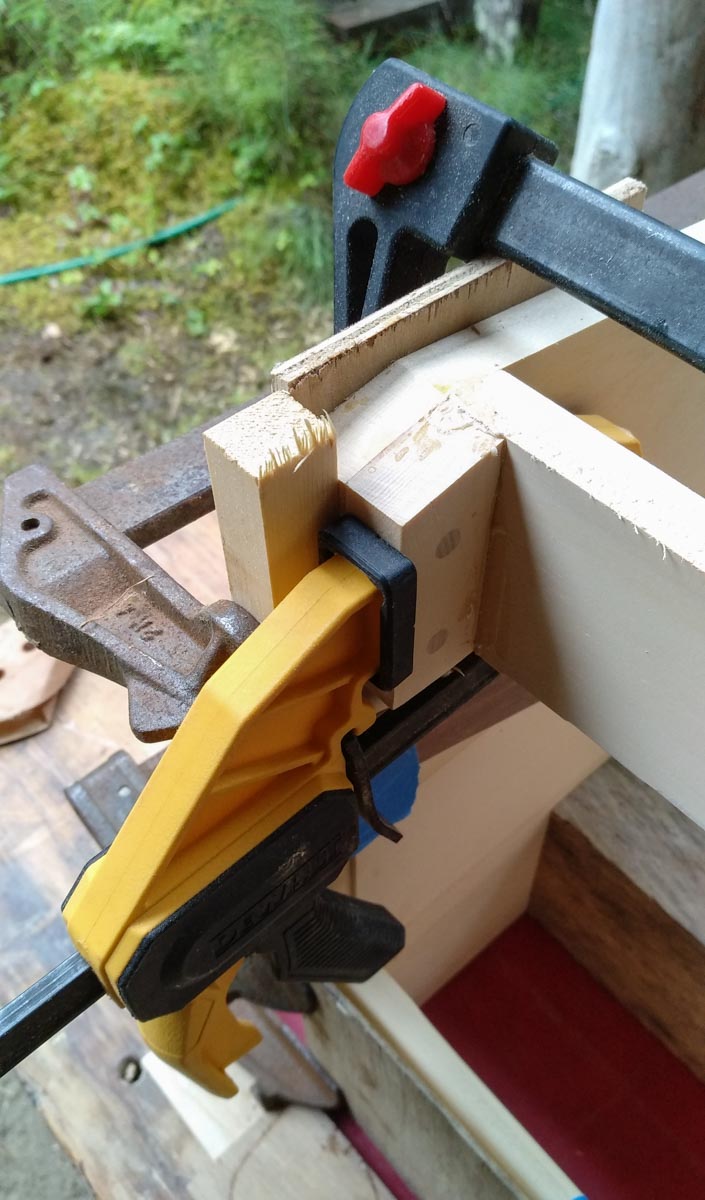
Most of the small cajon makers I chat with are thrilled to discuss their cajons and workshops. Many small manufacturers have webpages with multiple photos showing local workers building cajons. Some have videos showing cajons being built.  My simple reaction to manufacturers that act secretive is that they have secrets.  I am not going to become an investigative reporter and try to seek out the truth. This site was made to promote local cajon makers, if I can’t easily verify that cajons are build locally using a significant amount of local raw material, I won’t list them.

The big cajon companies are big business, their only interest is to make more money by selling more cajons at greater profit margins. Expanding their business by manufacturing locally is a legitimate business practice. But there is a difference between “Made in” and “Assembled in” and as consumers we should keep this in mind,  discuss it and consider it when recommending manufacturers.

I hope that everyone reading this will support my request to all cajon manufacturers for transparency. If a manufacturer is going to tout their cajons as “Made in” or “Hecho en” or “Criado em” a particular country they should be open and honest to folks asking about the raw materials used, where fabrication of various components occurs,  which components are made from imported materials and they should support visitation of production facilities.

What can you do about questionable ‘Made in’ claims?

If you suspect a company of fraudulently using the ‘Made in’ label, here are some suggestions you might pursue. In the USA the Federal Trade Commission will investigates clams of ‘Made in the USA’ fraud, just fill out their form. Another option is to query the local Better Business Bureau and ask them to verify the business. And another option is to check with other cajon makers who live near the manufacturer in question, they may have more information or they may wish to ask questions themselves.

In other countries I’d suggest searching for the Ministry of Industries or Ministry of Trade and asking them to investigate. With skeptical officials it might be worth discussing that fraudulent ‘Made in’ labeling could be associated with import tax issues or foreign business permit issues. Cajon forums on the internet are also places to get more information and spread the word about questionable manufacturers.

Almost every country in the world is interested in touting and expanding their industries.  In many countries, foreign investors are required to partner with locals. The results can vary from active, integrated partnership to token appearances by local partners on webpages and at events. It is difficult to know the extent to which a manufactured cajon is ‘Made in’ vs ‘Assembled in’. Hopefully this blog will raise awareness that ‘Made in’ is not an absolute: prospective buyers interested in locally made cajons should ask questions about the origins of materials, location of component fabrication and the extent of foreign ownership and investment.

“Made in” vs “Assembled in” Criteria

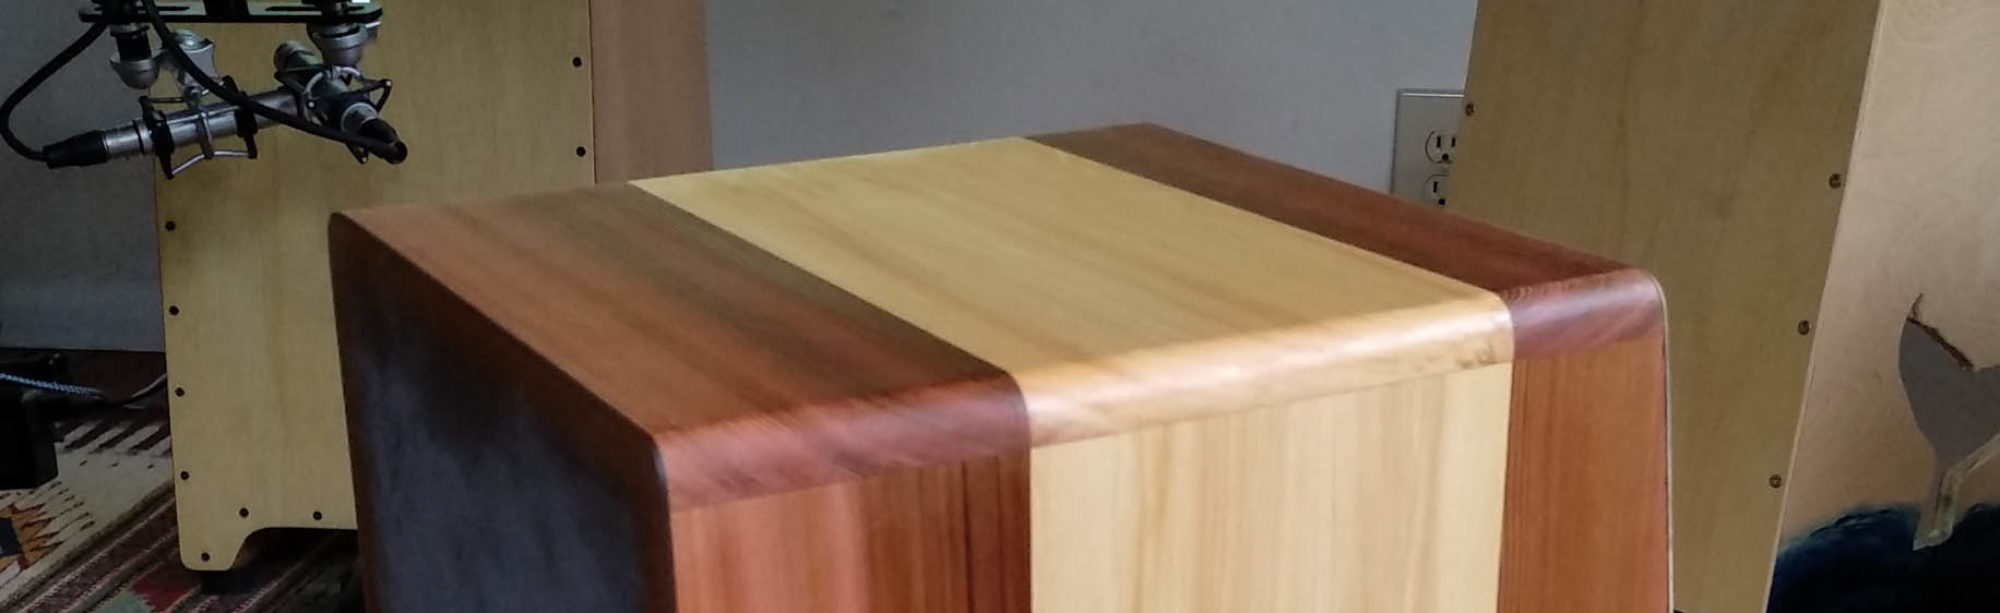
In my mind a “Made in” cajon starts from either raw lumber or full-size sheets of plywood. While locally produced plywood would be ideal, imported plywood is OK so long as it is not pre-shaped. Ideally the wood used to brace the cajon and construct the snare system comes from the country of manufacture or a nearby country. The tapa is cut to shape and the tapa graphic are applied in the country of manufacture. The finish is applied in the country of manufacturer. All the labor involved in these steps are local residents.  To me a cajon is not made in the country if the sides, top, bottom and tapa are cut to size in another country. At that point I’d call it “Assembled in”.

Please add you opinions and thoughts in the Comments area. Happy drumming!

Buying a Cajon in Guayaquil, Ecuador

Which Cajon Brands are Available in Guayaquil?

Similar to Lima Peru there are many music stores in central Guayaquil clustered in a small area. But there the similarity ends. Ecuador has import taxes and the price of many imported instruments seemed to be considerably higher than what I would pay in the USA and or in Peru.  Another big difference was the selection of cajons, there are not many locally made cajons available.

Inside a Tycoon Acrylic cajon at Ecko Music on Rumichaca 817.

It is an interesting selection of imported cajons in the central stores. Several brands imported from Asia, a few PR cajons from Peru and one SR Cajon from Brazil. There were 4 Tycoon acrylic cajons (made in Thailand) for sale. I played one a couple times, they are loud, with a lot of rattle from the adjustable guitar string snare system. The colored one is flashy and I can see where they would have a lot of stage presence in small venues. The import tax in Ecuador pushes them to about $550 each. The other imported brands, Stagg, Primer, Mirage and others, were priced in the $150 to $200 range. There were a few ‘made for kids’ cajons available that looked like Peruvian CPeru type cajons with equivalent prices.

One of two Percusion Real cajons available at the Gallardo Music store in central Guayaquil

After a couple visits to one store I spotted two PR cajons from Peru, one high on a storage shelf, the other behind a chain-link fence. The price on one was $180, which is about $80 more than you’d pay in Lima, the other $120. Both considerably less than what you’d pay in Europe or the USA for an equivalent cajon.

SR Cajon made in Brazil

The MAG Guayaquil Craft Market at the corner of Montalvo and Moreno has two stalls selling cajons including two ATempo cajons from Peru. One was $250 the other $200.

Guayaquil Craft Market, Stall #40 with 2 ATempo Cajons.

There is also a music store in the enormous ‘Guayaquil Bus Terminal’. La Victoria had a Mirage cajon ($150) and a LP Aspire Wire ($230) for sale.

Which is the best cajon to buy in Guayaquil, Ecuador?

The PR Percussion cajons are perhaps the best mid-range cajons available in Guayaquil stores. One was solid hardwood. But they may not be there long and who knows if the stock will be replenished. The ATempos are great cajons at the high end. With a bit of time and effort you could get a mid-range or high-end Nativo from their Facebook page or from website www.mecadolibre.com.ec or perhaps directly from the factory 17 km outside of Guayaquil.

The best cajon is one you sit on, play and like better than all the others you’ve played. Hopefully this blog will help you in your decision making. Check out this blog for more information on selecting the best cajon for you.

To visit the cluster of music stores in central Guayaquil just walk to the intersection of Rumichaca and V.M. Rendon streets about a block away from Parque Centenario. There’s over 10 stores in about a 2 block radius.

To visit the store recommended by Nativo (Instrumentos Musicales JC), Uber to Albocentro 1, Guayaquil and walk east down Jose Maria Roura Oxandaberro street about one block. It is right next to the Area 51 Barber shop and tatoo studio.

I did not visit every music store in Guayaquil so there could be some gems out there. And cajons in stock will certainly change with time. If you know of any stores in the Guayaquil area with other cajons please add them to the comments section of this blog.

All prices are 2018 in USD, the currency of Ecuador.

Most music stores also sell sound systems.
PR cajon high on a shelf.
One of the better stocked music stores.

Cajon Sound Hole on the Back vs Downward Facing Sound Hole

Facebook Cajon Forum member Peter Wolf had some good observations about the downward facing sound hole: “… the sound depends on the floor, where you play. If there is concrete, the sound will be hard and loud, if there is wood, it will be softer and not so loud, an if you play on a thick carpet, there will not be very much sound. And if you rock with your cajon, the sound changes also.” Here is my edited response:

I agree that the design is not perfect. The floor does affect the sound. But a regular cajon has a sound hole facing backwards, away from the audience. If the situation is perfect the wall behind reflects the bass back to the audience and player. But if there is no wall? Or if it is metal or sheet-rock or brick, it will affect the sound. So both styles have sound hole placement issues. I play the bottom facing cajon mostly on a carpeted floor and prefer the sound vs on a wooden floor. I haven’t tried these on a cement floor or on a super-thick carpet. The thin carpet I use them on does not effect the sound much. I consider the floor issue as just a different variation of the same issue that a rear-facing sound hole has.

The other thing you mention, the effect of the player tilting backwards, I now consider to be a desirable feature. You can ‘tune’ these cajons by selecting the feet height that gives you the desired amount of bass. If you ‘tune’ it so they have just a little less bass when they are flat on the floor, you can add a little punch by angling the cajon backward as you play.

A big advantage of this design is the easy placement of the bass mic, it simply goes on the floor in front of the cajon, if the floor is wood I put a small piece of foam under it. Tilting the cajon has minimal effect on mic pickup and slight movements of the cajon have minimal effect on the mic. Whereas a cajon with a sound hole on the back has to have a mic stand of some sort and small movements in the cajon can effect or even hit the microphone.

With a mic on a backwards facing sound hole the player is mostly unaware of the effect of their movement on the mic placement. Dealing with rear sound hole issues has spawned a number of pricey, cajon specific mic’ing systems. With the downward facing sound hole you can always quickly see where the microphone is sitting. Any microphone will do and heavy bass microphones sit stable on a small piece of foam.

Perhaps the biggest issue I have with the downward facing sound hole is that it works too well, much of the sound is channeled forward. The cajon player doesn’t hear the full richness of the cajon. It’s easy to test this by simply leaning forward a little as you play, the tone and bass becomes more obvious. Sometimes I’ll sit directly in front of a low window or a solid door to reflect the sound back as I practice. This is a common issue with instruments that project their sound forward, trumpets, trombones etc. When evaluating the sound of any cajon it is best to also listen to someone else play the cajon.


Cajon Plans – Downward Facing Sound Hole and Inclined Tapa

How to Build A Cajon

This article describes the latest construction design and details of the Firebox Cajon ‘Open Hearth’ design.  It uses technical drawings, photos and text to help guide you through the process of building a cajon. Please see the related blog for a discussion on the features, pros and cons of this design.

This video has good audio recordings of two cajons with similar design. The main difference in sound seems to be due to the type of woods used.

Download the complete set of plans here

The plans are full of construction tips. Use the photos below to help understand the drawings and construction tips. The plans present two variations in the design: Option A uses long ‘bottom support’ pieces, Option B uses short ‘bass bar support’ pieces. The plans are free for your use but not for redistribution, re-purpose and not to be used commercially.

Assembled Parts

This design has an inclined front which makes construction a bit more difficult than a typical rectangular cajon. The side panels are based on ‘right trapezoids’ not rectangles.  However, because the pieces create a large rectangular sound hole, there is no need to cut and shape a large circular sound hole as with traditional cajon designs.

View of downward facing sound hole on a firebox cajon
Option A: cajon with downward facing sound hole using ‘bottom supports’. This cajon is a mix of Western red cedar and Sitka spruce
Option B: Short ‘bass bar support’ in place. This cajon is made from solid Sitka spruce.

The plans use 1/2 plywood for the cajon box. Many commercially produced cajons use plywood from hardwood trees, either birch or tropical hardwoods.  Many cajon makers use solid hardwood. Cajon builders usually recommend plywood with more plys and fewer in-sheet gaps. Marine plywoods can be used. Cabinet grade plywood produces a nice looking cajon. Specialty plywood stores can supply multi-ply hardwood plywood. I have also used 3/4 inch softwood plywood with good results, although the cajons are heavy.

Side Panels

The plans produce a cajon which is about 17 inches tall, which is short for some folks. Modify the plans to suit your height. I never cut all pieces at once. I start by cutting the right trapezoid shape to the height I want, then fit everything else to suit the sides. Cut the small notch at the bottom front after the bottom support/bass bar support is glued in place.

Left and right side panels with bottom support glued on.

It is important to get the cut on the front as continuous and clean as possible. You don’t want to have to sand the front surfaces. The tapa must seal well to maximize the bass, tone and volume. I typically make the top and bottom cuts, then the front cut, and finally the back cut.

Once  the sides are cut, measure the front angle.

Top Panel

Typically I’ll cut the top to the desired width, then cut the angled front.  When the front cut is perfect, I’ll make the back cut on the top such that the top fits the top of the side panels perfectly.  The front angle of the top panel must match the angle of the front of the side panels.

Bottom Supports

I prefer Option A, long bottom supports. I think they are faster to make and add strength. I glue them on before cutting the angled front surface.  This gives a cleaner joint. Option B, bass bar supports produces a bigger sound hole. I’ve not made enough cajons with these options to have an opinion on which produces ‘better’ sound.

Cutting the glued side panel and bottom support.
The dowels are added after the bottom support is glued on. The screw for a rubber foot will go between them.
Bass bar support with an additional thin strip of wood to reinforce the end grain. Not necessary if you are using plywood sides.

Bass Bar

The bass bar holds the bottom of the tapa and is the principle support element spanning the front. I use a 2.25 inch wide piece but it is worth experimenting with wider or even narrower pieces.  This piece is often used to carry the cajon so I typically round the edges in the back which is not shown in the drawing.  The front of the bass bar must be cut at the same angle as the front of the sides to ensure a tight fit of the tapa.

Bass bar with rounded back edges in place on bottom supports.

Bottom Panel

The simplest bottom panel is a rectangle.  The plans include a bottom panel with a cut out but I’ve not yet made one this way. I’ll update this when I can.  I round out the edges of where appropriate which is not shown in the plans.

The bottom panel is the lowest wooden piece on the cajon. View is from the back to the front. The bass bar spans the front of the cajon and sits on top of the bottom supports.

Rubber Feet

The back feet and front feet are different sizes. The back feet should be low. The front must be high enough to level the cajon. There seems to be some complex interactions between the width of the bottom panel, the width of the sound hole and the height of the feet. A small difference in the height of the feet can make a big difference in the sound of the cajon. In general too high is better than too low. I try different feet to get the best sound.  Although the plans suggest 0.75 to 1 inch I find myself using 1 inch most of the time. Rubber feet can be screwed to a scrap piece of wood and sanded to desired height on a bench sander.

Glue-up

The bottom supports are glued to the sides first and the dowels put in. When this is dry all pieces are glued. First the bass bar support is glued and clamped to the two sides and immediately after the top and bottom are glued and clamped to the sides.

Gluing the bottom supports (Option A) to the side panels.
Gluing the bass bar. This cajon uses bass bar supports, Option B.
I believe in at least 4 clamps on each side. But not too tight!

Corner braces are glued in after the box is dry.

Gluing triangular shaped corner braces between the top panel and the side.
Gluing corner brace between the bottom panel and the side. Only necessary if bass supports are used.

The Back

Here is an earlier blog about attaching the back.

I use 0.093 inch thick Lexan for most of my cajon back panels which I attach with 2 part epoxy and screws. If I use wood I am now inclined to use thicker dimensions for the back. The original plans suggest 4mm but I’ve updated them to 0.5 inch thick. I  think that for many types of plywoods 4mm is too thin.  Commercial cajons use thin, dense hardwood plywood  for the back.  The awesome cajons made in Peru use thick solid wood on the back and have a great sound. But they are heavy. If I was making a cajon out of hardware store plywood made from softwood trees, I’d use 1/2 plywood for the back panel as well. If I had dense hardwood plywood I’d use 4 mm or thicker.

The Tapa

The tapa is the front of the cajon, the striking surface. It is the ‘drum head’ of a cajon, it needs to flex so 2.5 to 3 mm is typical. I use 3 mm, 3 ply ‘birch’ plywood from the local hardwood store for my tapas. I believe the inner ply is not actually birch, only the thin outer skin.  I’ve also used recycled hollow door skins successfully. Older hollow doors skins were made from tropical hardwood and produced excellent tapas.  Commercially made cajons often use 2.5 to 3 mm, 5 ply birch hardwood plywood for the tapa.  5 ply birch plywood can be found on the internet from specialty plywood suppliers.

Screws hold the tapa in place. I’m inclined to use a lot of screws. My current thinking is the tighter the box, the better the sound.  The gaps between screws leaves possible air escape passages. Some commercial cajons now glue the lower portion of the tapa and use screws on the upper parts. Screws should be countersunk.

Round the Edges

The plans don’t show it but it is important the round the edges and corners, especially the top. A cajon with hard edges is difficult to sit on for long.

Snare Wires

Many cajons include snare wires pressed against the inside of the tapa to produce a rattle. There are many possible snare wire configurations. I don’t include any in these plans. My snare system is simple to construct but is not adjustable when playing. Check out the photos in this Pinterest board for other ideas. I think any of these snare wire designs would also work in this cajon design.

The Finish

I use 100% pure tung oil on the tapa. It is all natural and the players hands will have direct contact with the tapa.  The box can be finished with just about any finish you’d like. It’s a drum so it will need to take some abuse.

Completed cajon with a 100% pure tung oil finish.

Time to Completion

Folks often ask me how much time it takes to make one.  That’s a tough question for me because I usually have several cajons in the works at one time and life in general often creates work gaps. And plywood vs solid wood will also effect the time it takes to make one.  Plus there are four steps, 1) gluing the bottom support to the sides, 2) gluing the box together, 3) gluing the corner braces and 4) attaching the back, where the adhesive should dry overnight. Depending on the finish you use it will need to dry days to weeks. I think a skilled woodworker with a good shop could cut and shape the pieces from plywood in an hour or two.  Gluing and clamping after that should take a couple more hours. Sanding and finishing a couple more hours.  Add to this time the overnight glue drying and a week is about right. I often take two weeks start to finish.

Gran Cajoneada 2018 in Lima Peru

Cajons Arriba at the end of playing.
Cajones Arriba! At the end of playing the Cajoneada tune everyone is asked to hold up their cajon.

The Gran Cajoneada is a public group play of a previously defined cajon tune performed in a large plaza.  The cajon tune to be played in 2018 was posted on the internet several months before the event. I’d practiced it off and on for over a month but there were still parts I wasn’t comfortable with. It was not my usual playing style and it took some slowing down of the posted video for me to get the timing and hit emphasis just right.  I was glad there was practice time at the Cajoneada in the morning.

A school group practicing at the Gran Cajoneada in Lima, Peru

On Saturday morning hundreds of cajon players started streaming into the Plaza Andres Avelin Caceres in San Isidro.  Peru has many organized cajon clubs and school groups who showed up, many in coordinated shirts and scarfs. A few groups were sponsored by corporations. As folks gathered leaders began practice sessions. Eventually festival organizers led practice sessions from the main stage.

A father and son sit side by side on cajons.
Families, friends and school groups gathered at the Gran Cajoneada in Lima Peru 2018

As folks entered the Plaza there were a lot of big smiles and cheek kisses, the Cajonaeda is perhaps a chance for old cajon school groups to re-kindle friendships and relive past events.

Cajons by Cajonearte for sale outside the Gran Cajoneada area. Photo by Cajonearte.

Morning practice events were broken up by group stand-up-and-stretch moments blended in with a bit of on-the-spot dancing. Most all public gatherings I go to lately have outrageously loud PA systems and this one was no exception, I was glad I had my ear plugs ready during the dancing sessions.

A cajon with a sticker with a stylized P in Peru. in
Most cajons at the Cajoneada were made in Peru.

The overall tune to be played was broken up into 4 sections. Each section was practiced separately then all played together several times. I was so focused on getting good photos and videos I missed many of the section practices. During the main playthoughs I found myself tapping lightly during the parts I was less confident with.  I was playing during the main playthoughts so I’d recommend this video to experience the tune: Gran Cajoneada

Many very nice cajons at the Cajoneada. This one is an ATempo, made in Peru.

Outside the staging area booths were setup selling food, clothes and musical instruments.  ATempo, LP and Cajonearte sold cajons — you could arrive without and buy a nice cajon right there. But I would not advise trying to play in the Cajoneada without having practiced to the video beforehand. The beats are fast and moderately complicated, there are a few change-ups and the sequencing of patterns is not completely linear.  The video of the patterns is quite good but even the slowed down patterns were sometimes to fast for me to follow at first.

Cajons held up at the end of playing.
For only a brief minute participants held up their cajons during the final moments of the Gran Cajoneada.

The ‘cajones arriba’ moment occurs at the end of the group play and is a wonderful photo op, but wow, is it short. You’d better be prepared. I was glad to get anything at all.

I only saw one Black Percussion Cajon. I don’t know if they are still in production.

Most children played C.Peru cajons. C.Peru cajons are the most frequently found cajon for sale in Lima but I’ve yet to find any information about them on the internet. Perhaps 1/3 to 1/2 of the cajons in the Cajoneada were C.Peru cajons with VP Cajons, PR cajons and ATempo cajons making up the remainder, more or less evenly split between them. All these cajon brands are made in Peru by Peruvian based cajon makers.  I only saw a few international brands of cajon and all were on the stage, having helped to sponsor the event.

These are the VP Cajons and C.Peru cajons belonging to the Colegio Matematico Alfa Group in Lima Peru.

They say that 80% of any video is the audio. Well, I messed up. I should have had a handheld recorder going the whole time. Something with a serious pad would have been good. The action camera was overwhelmed by the loudness, especially on the close shots. I found afterwards it has a Mic level option, which was set to High. Oh well.  I had the point and shoot set on -10 dB and it did better but even so the sound is often distorted.

Here are some video clips of the Cajoneada. The audio is often distorted so I turned it way down, this is more for the visual experience:

The Gran Cajoneada is one event in the 4 day Festival Internacional de Cajon y Perucsion held in Lima Peru every year. For more information on the Festival check out their Facebook page.